Export Scheduler
In addition to manual data export, our product offers an Export Scheduler feature that empowers users to automate the export process. This comprehensive documentation outlines how users can leverage the Export Scheduler to set up automated data exports, specifying the desired date, time, and frequency for exporting extracted data to the designated destination folder.
The Export Scheduler provides users with a convenient solution to automate the export activity, enhancing efficiency and reducing manual intervention. By following this documentation, users can effectively configure the Export Scheduler to streamline data export based on their preferences.
Key Features of Export Scheduler for Automated Data Export
The Export Scheduler for Automated Data Export encompasses the following key features:
Automated Export: The module enables users to schedule and automate the data export process, reducing manual effort.
Customizable Schedule: Users can choose the export date, time, and frequency according to their specific requirements.
Note:
If you encounter any issues, contact your system administrator.
Accessing Export Scheduler
To access the Export Scheduler page, follow these steps:
-
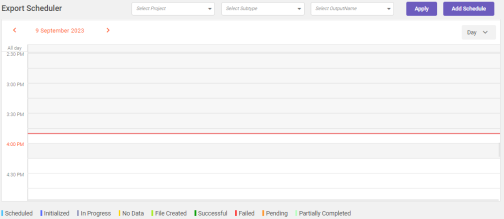
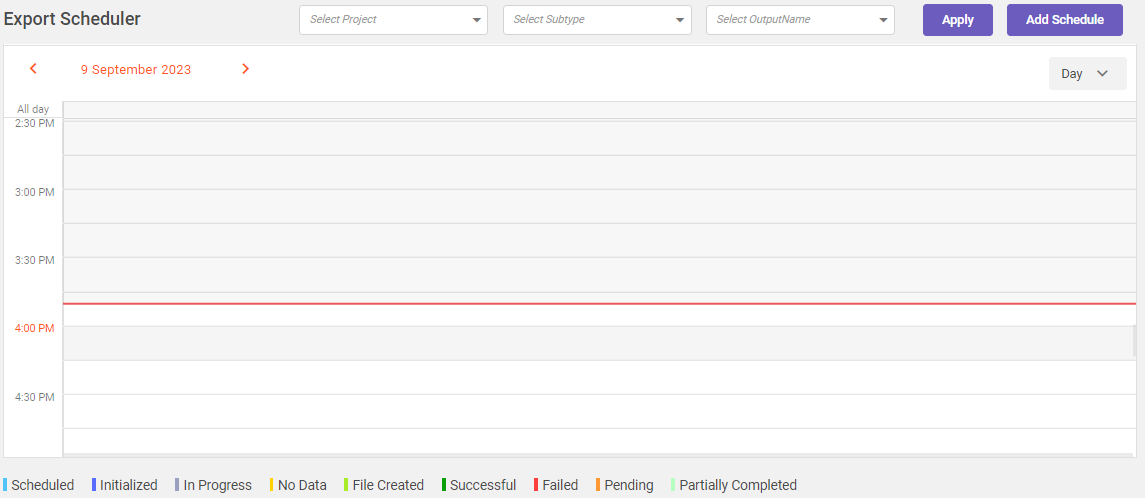
In the main menu, under Documents Processing, click Export Scheduler. The Export Scheduler page opens.
-
Select the required project, subtype, and output name from the drop-down and then click Apply to view the export schedule matching the given criteria.
Note:
It is mandatory to select project, subtype, and output name to display the records.
Adding a schedule
To add a scheduler, follow these steps:
-
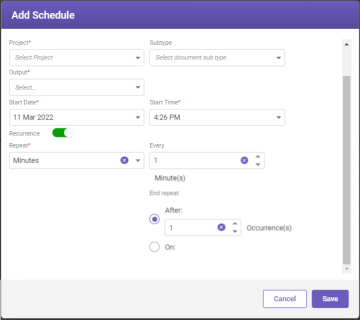
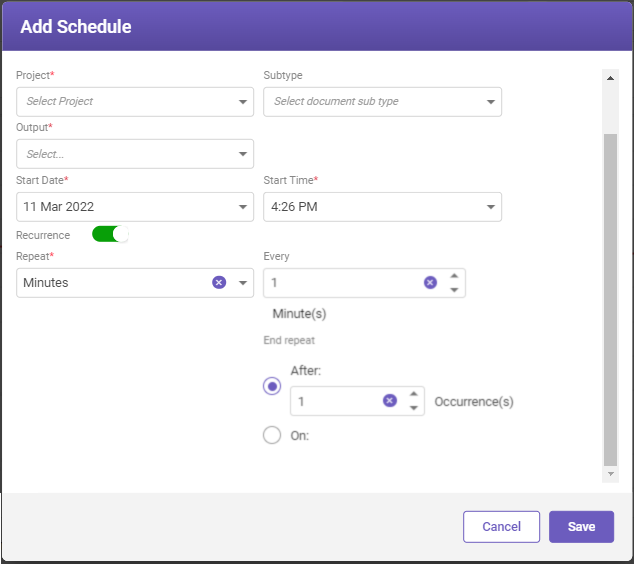
In the top-right corner of the Export Scheduler page, click Add Schedule. The Add Schedule window opens.
-
Fill-in the details based on the following field descriptions.
FIELD
DESCRIPTION
Project*
Select the project name for which you want to create export schedule from the drop-down list.
Subtype
Select the document subtype name for which you want to create export schedule from the drop-down list.
Output*
Select the desired output type format in which the data is to be exported from the drop-down list.
Start Date*
Select the required date on which the scheduler should run to export the data from the drop-down list.
Start Time*
Select the start time at which the scheduler should run to export the data from the drop-down list.
Recurrence
Enable the toggle button to configure the repeat scheduler settings.
Disabling the toggle button allows the scheduler to run only on the selected date.
Repeat*
Select the desired recurrence option from the drop-down list. Available options are: Minutes, Hourly, Daily, Weekly, Monthly, and Yearly.
Every Minute(s)
Depending on the selected repeat option, specify the time in minutes after which the scheduler should repeat.
End Repeat
Depending on the selected Every Minute(s) option, select any one of the following option:
-
After: If you select this option, specify the number, based on which the scheduler would start running on the start time, repeat in minutes for specified number of occurrences.
-
On: Selecting this option, enables scheduler to end the occurrence on the selected end date.
* Mandatory fields
-
-
After entering the required details, click the Save button. This will successfully schedule the output export according to your configurations.
Viewing scheduled output
Once the schedule is saved, you can view the scheduled output categorized day-wise, week-wise, work week, and month-wise.
Day-wise schedule
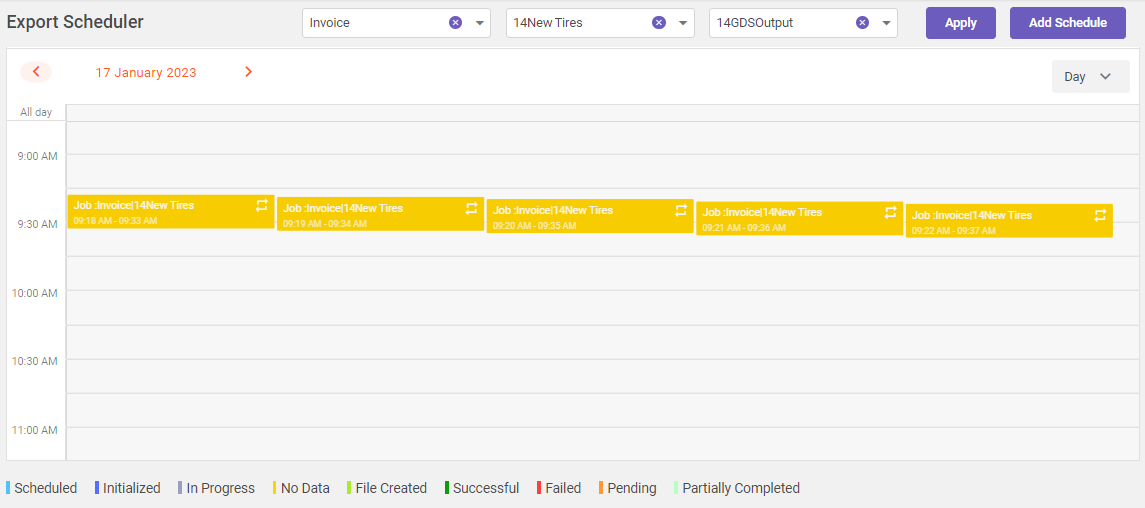
Select Day from the upper-right corner drop-down list. The shaded area displays scheduled output details including start time, repeat frequency, and occurrences (see image below).
Month-wise schedule
Select Month from the upper-right corner drop-down list. The shaded area displays scheduled output details (see image below).
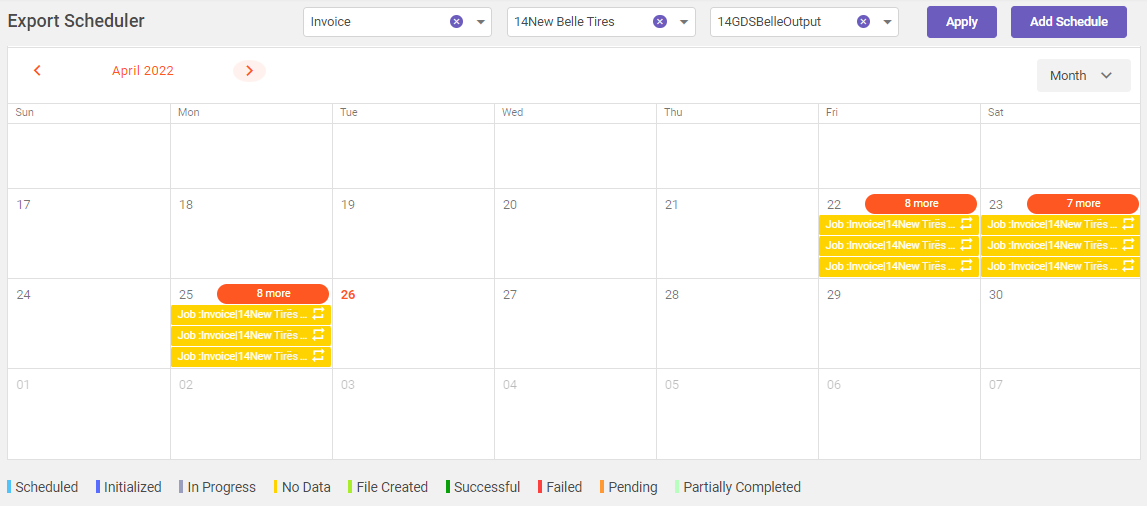
Similarly, you can view the respective scheduled output by selecting Work and Work Week from the upper-right corner drop-down list.
Refer to the legends displayed at the bottom of the Export Scheduler page for status understanding.
Deleting a schedule
To delete a schedule or all the recurrence schedules, follow these steps:
-
Click on the scheduled task which you want to delete displayed on the Export Scheduler page.
-
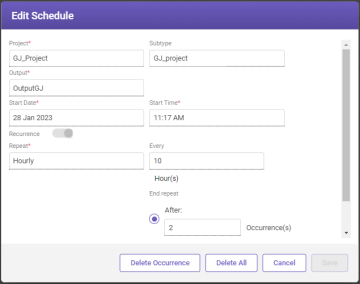
Once you click on the scheduled task. The Edit Schedule window opens.
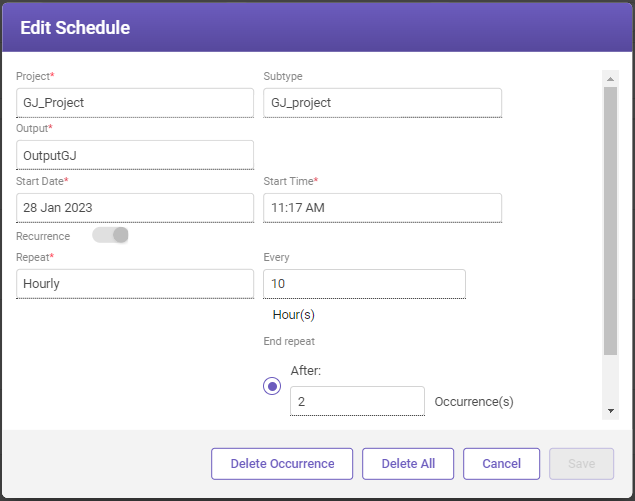
To delete single occurrence
-
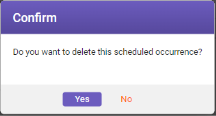
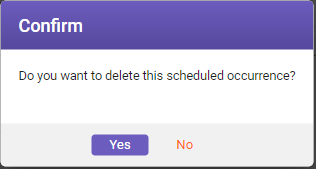
Click Delete Occurrence to delete the selected occurrence. A Confirm dialog box opens.
-
Click Yes to delete the selected occurrence.
To delete all occurrences
-
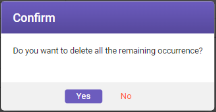
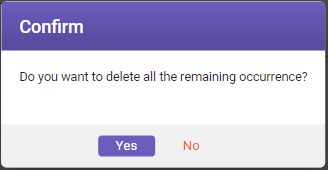
Click Delete All to delete all the remaining occurrences. A Confirm dialog box opens.
-
Click Yes to delete all the remaining occurrences.