SSO Configuration
The Single Sign-On (SSO) Configuration feature is an essential component of our product that allows users to enjoy the convenience of logging in to multiple applications using a single SSO account. This comprehensive documentation provides step-by-step instructions on how to configure SSO settings and maximize the benefits of this authentication method.
SSO authentication streamlines the login process by enabling users to access multiple applications with a single set of credentials. With SSO, users can conveniently log in once and gain access to all integrated applications without the need for repetitive authentication.
Key Features of SSO Configuration
The SSO Configuration module offers the following key features:
Simplified Login Experience: SSO eliminates the hassle of remembering and managing multiple sets of login credentials for various applications, enhancing user convenience.
Centralized User Management: By configuring SSO settings, user management becomes centralized, allowing for efficient control over user access across integrated applications.
Understanding Single Sign-On (SSO)
In SSO authentication, a user's login credentials (username and password) are validated once during the initial login. Once authenticated, the user receives a secure token, which grants access to all integrated applications without the need for re-entering credentials.
Accessing SSO Configuration
To access the SSO Configuration page, follow these steps.
In the main menu, under Application Setup, click SSO Configuration. The SSO Configuration page opens.

Select the name of the Identity Provider from the drop-down list. Available options are Okta and Custom SSO. Depending on the identity provider selected different settings are available. To enable single sign-on you need to first configure the single sign-on settings.
Configuring Okta SSO
 Note
SSO service from Okta Identity Provider (IdP) is presently supported in TruCap+ version 5.5 and later. To use Okta's SSO services, you will have to create a TruCap+ app integration in Okta and then use the configuration information available in Okta (such as metadata) and TruCap+ (such as Consumer Service URL and Service Provider Entity ID) to complete SSO configuration.
To access Okta's SSO configuration, follow these steps.
-
On the SSO Configuration page, select OKTA as the Identity Provider from the drop-down list. The SSO Configuration page with Okta settings opens.
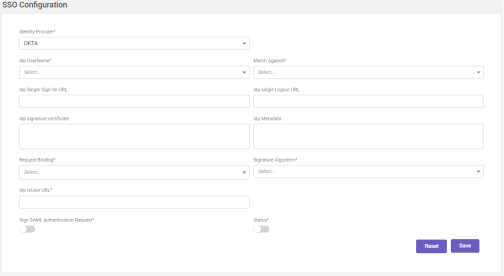
Fill-in the details based on the following field descriptions.
FIELD
DESCRIPTION
Identity Provider*
Select the name of the Identity Provider from the drop-down list.
Idp UserName*
Select the name identifier format supported by the Identity Provider.
Match Against*
Select the field which is registered as username in the Idp account. Options available are email, mobile, and userid.
Idp Single Sign-On URL
Enter the Idp single sign-on URL.
Idp Single Logout URL
Enter the Idp single logout URL.
Idp signature certificate
Enter the Idp signature certificate.
Idp Metadata
Enter the Idp metadata provided by the Identity Provider.
Request Binding*
Select the required binding from the drop-down list.
Signature Algorithm*
Select the required signature algorithm from the drop-down list.
Idp IsUser URL*
Enter TruCap+ hosting URL.
Sign SAML authentication Request*
Enable SAML authentication.
Status*
Enable the toggle button to activate SSO authentication in TruCap+.
* Mandatory fields
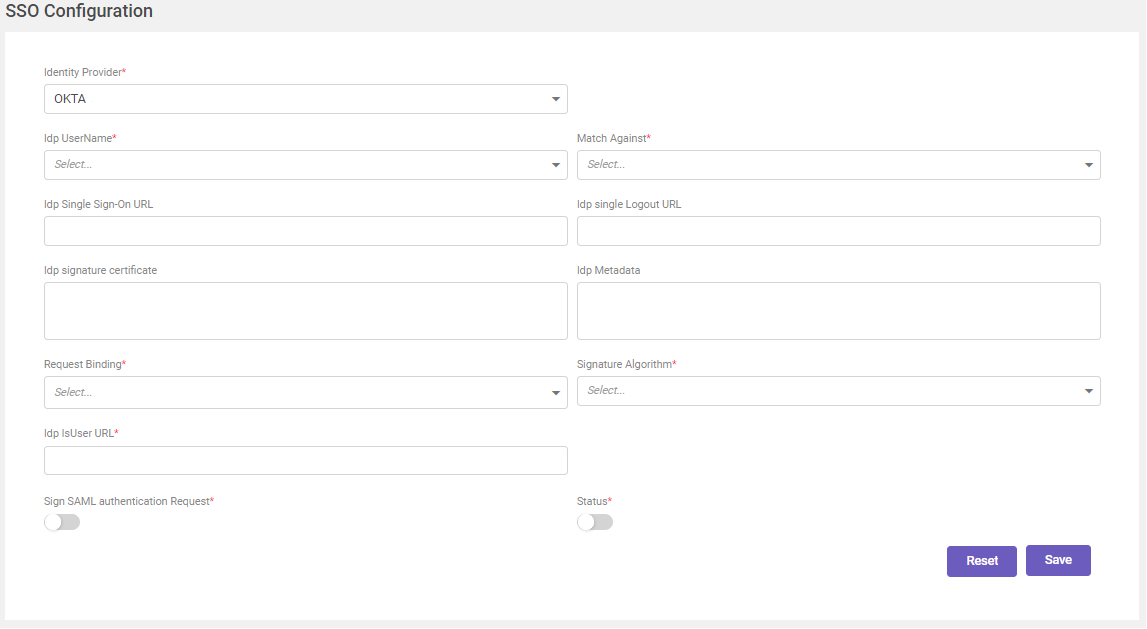
-
Click Save to save the settings.
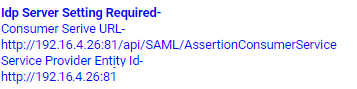
Once you save the configuration, links for the Consumer service URL and Service provider entity id are automatically generated (see the below image). Add these details in the Identity Provider settings (Refer Note).
-
Click Reset if you want to reset the configured settings.
Note:
TruCap+ users can use SSO authentication only if SSO option is enabled for them. (See Adding user.)