Baselining
Baselining is an activity that measures the accuracy of the extracted data against a set standard. The results can be used to improve the accuracy, say for example, using an OCR that yields higher accuracy.
At operational level, baselining includes comparing data extracted from identical documents available in two separate batches. (The batches should belong to the same type and sub-type and should have at least some identical documents for comparison.)
One of the batches is set as the golden batch, which represents a batch from which data is extracted, manually inspected, and on which quality checked has been performed. The second batch is the one that is to be baselined, i.e., the one for which the data extraction accuracy is to be determined.
See illustration
In the below illustration, Batch B and Batch C are to be baselined against Batch A, where all the three batches belong to Finance type and Invoice subtype. For illustration purpose, it is assumed that only three ontology fields namely Invoice, Address, and Amount are defined for the Invoice subtype. For comparison, either Batch B or Batch C can be selected and compared with Batch A, which is the golden batch. All the identical documents (Invoice_0120 in this case) present in between the two batches are compared. Actual comparison gets done at field level, i.e., values extracted (for the matching ontological field) from each of the identical document are compared. Based on the number of matching results, the accuracy of data extraction can be found. 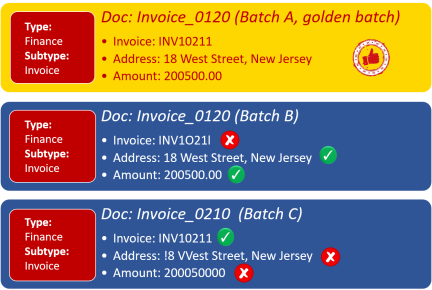
Following activities need to be done to baseline a batch:
-
Select the golden batch and the batch that is to be baselined. (In case the batches are not available, you can create them. See Creating batch. )
-
Compare the golden batch with the batch that is to be baselined. (See Comparing batch.)
-
Check the extraction and compare summary results. (See Compare Summary and Extraction.)
-
Export the golden data (See Exporting Golden Data)
Note:
Baselining does not support split documents. If an ontology has a splitter field enabled and the document is processed, that baseline batch status will always remain in Work in Progress (WIP). It won’t be able to compare baseline reports.
Selecting and comparing batches
To select a baseline batch, follow the steps below:
-
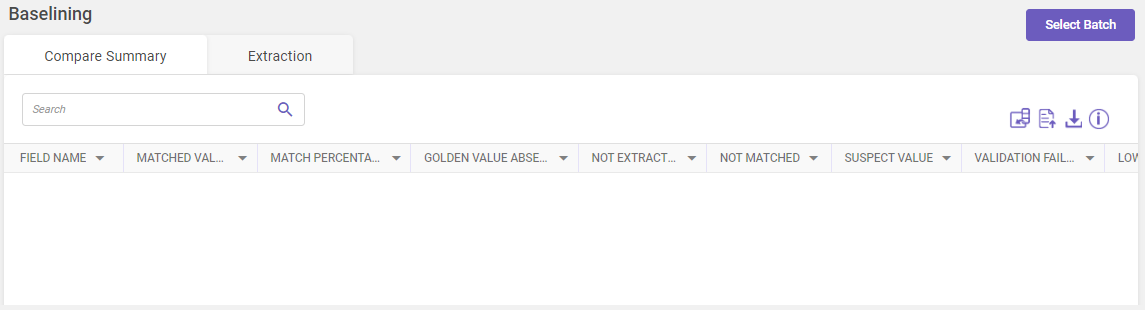
Go to the main menu, and under TruCap+ Studio, select Baselining. The Baselining page opens.
Note:
-
Click the column chooser icon
 and check/uncheck the required column to include or exclude it from being displayed on the compare summary page.
-
Click
 to view the column descriptions.
-
-
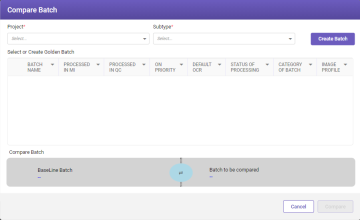
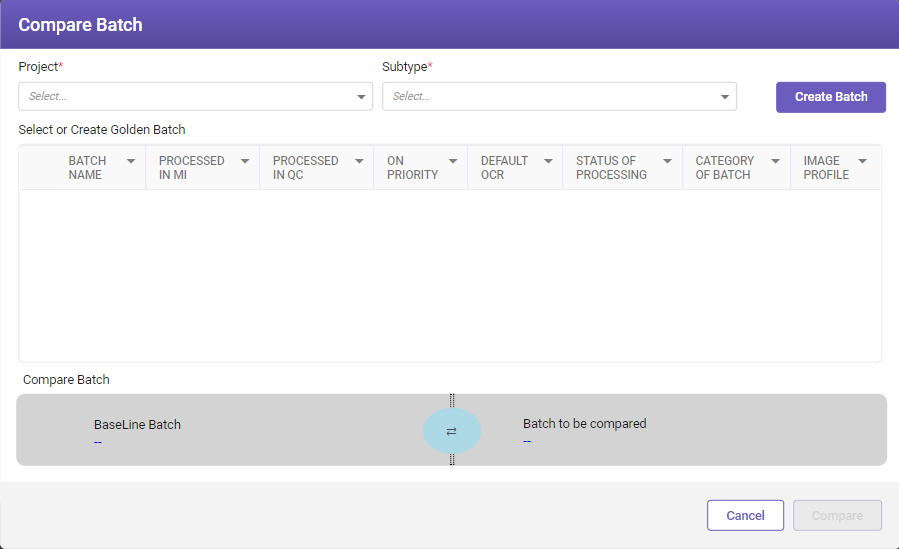
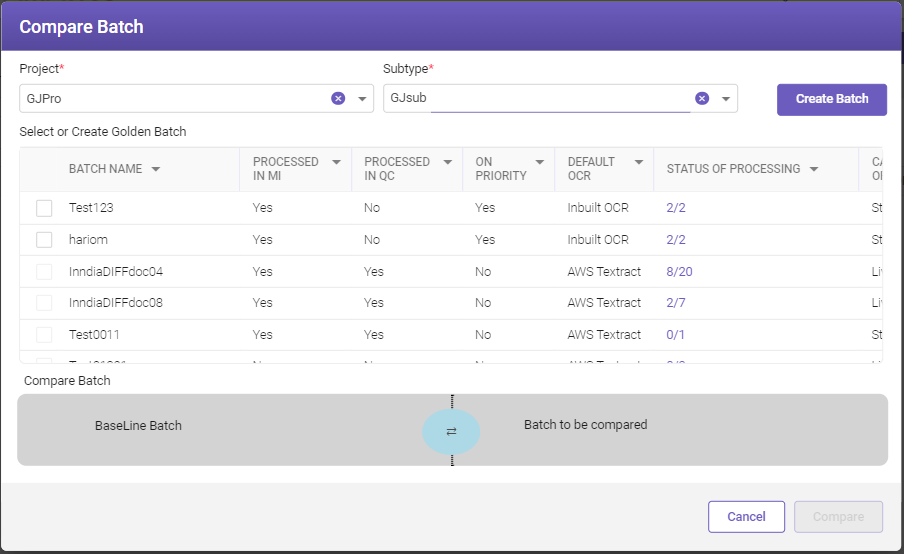
On the Baselining page, click Select Batch. The Compare Batch window appears.
-
To list the available batches for a given project and subtype, select the project and subtype from the respective drop-down lists. The list of available batches will be displayed in the grid. As you need one golden batch for the comparison, make sure that at least one of the displayed batch is a golden batch. (For a golden batch, at least one of the values displayed under the PROCESSED IN MI and PROCESSED IN QC must be Yes.)
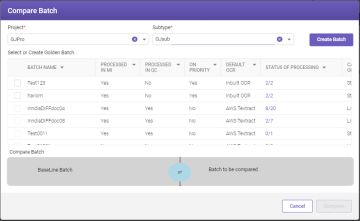
In case no batch is available for the selected project and subtype, or no golden batch is available, you can create one.
How to create a batch?
To create a batch, follow the steps below:
-
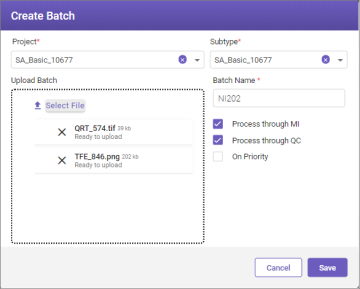
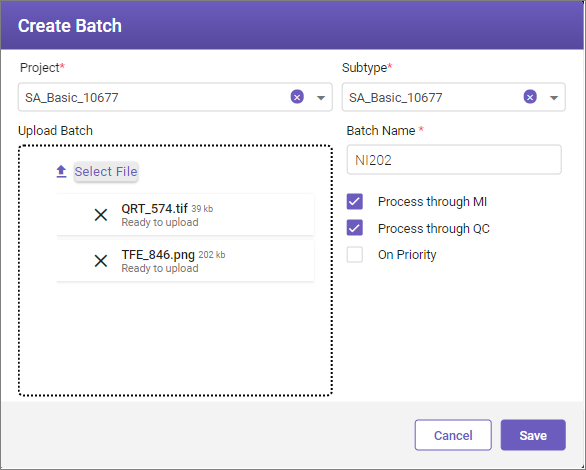
On the Baselining page, select Create Batch. The Create Batch page will open.
-
In the Create Batch page, fill-in the required details.
The field details are given below.
FIELD
DESCRIPTION
Project*
Indicates the project.
Select the project from the drop-down list.
Subtype*
Indicates the document subtype.
Select the document sub-type from the drop-down list
Upload Batch
Use the Select File link to upload the batch files.
Note
Minimum three and maximum 50 files can be uploaded.
Batch Name*
Enter the batch name.
Process through MI
Select this option if you want the batch files to go through the Manual Intervention (MI) stage during the data extraction process.
Note
To get a golden batch, manual intervention or quality check option should be selected.
Process through QC
Select this option if you want the batch files to go through the Quality check (QC) stage during the data extraction process.
Note
To get a golden batch, manual intervention or quality check option should be selected.
Select this option if you want the batch to be taken on highest priority (among the queued documents) for data extraction.
Cancel
Select to exit without saving any changes.
Save
Select to exit after saving the changes.
-
Click Save to save the changes. A batch will get created and will be added in the data extraction process queue.
Note
As the data extraction process is going to happen only for the baselining purpose, the status of the batch documents will not be displayed in Document Monitor, where status of only those documents is available for which the extracted data is to be exported. However, if the MI or the QC option is selected during batch creation, the documents will be available on the MI and QC screen respectively.
After the batch is processed, it will appear in the Compare Batch window grid.
-
-
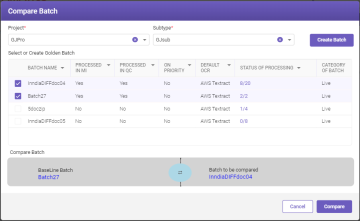
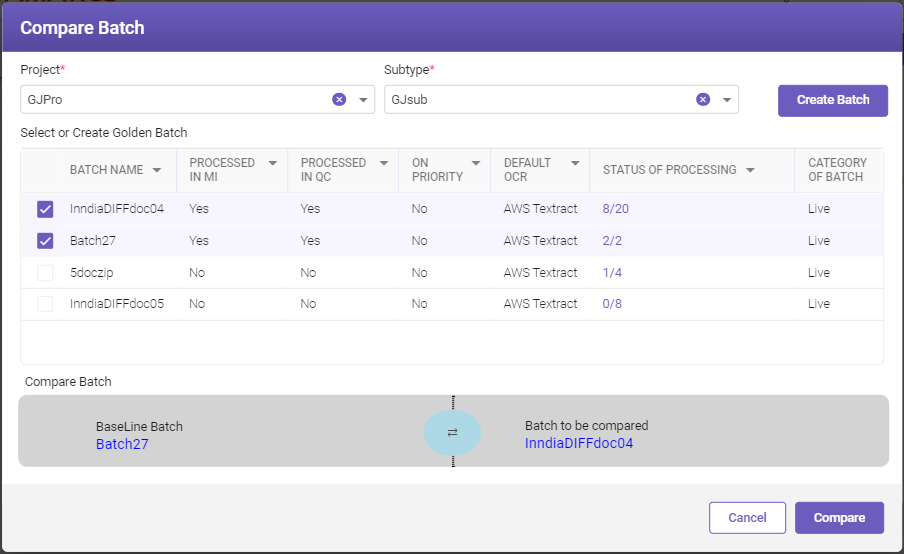
From the grid, select the required golden batch and the batch that is to be baselined. The selected batches will be displayed in the comparison grid. You can swap the files in case you want to change the order of the files using the swap
 icon.
-
Click Compare. The Baselining page appears, displaying the compare summary and extraction results for the respective files.
Compare Summary and Extraction
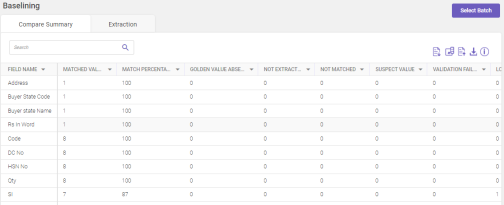
After the comparison between the golden batch and the baseline batch is complete, the results get displayed on the Baselining page. There are two tabs on the page, namely Compare Summary and Extraction. The former displays the comparison results related to the compared batch documents, whereas the latter displays cumulative comparison results for the ontology fields (for which values were extracted from the baseline documents and compared with the golden batch documents).
Note:
-
For comparison, only those files in the baseline batch are selected that have a matching counterpart file in the golden batch. (Two files are matched if they share the same name.) This implies that files that are not found matching either in the baselined batch or in the golden batch are not compared, and the comparison results do not include data related to them.
-
For image based business fields the values are not visible on the Baselining page as they are generally not considered good candidates for comparison.
Compare Summary
The Compare Summary page displays the cumulative comparison results related to the ontology fields involving all baselined documents that were compared. The results enable you to gain an insight about the data extraction process at the field level.
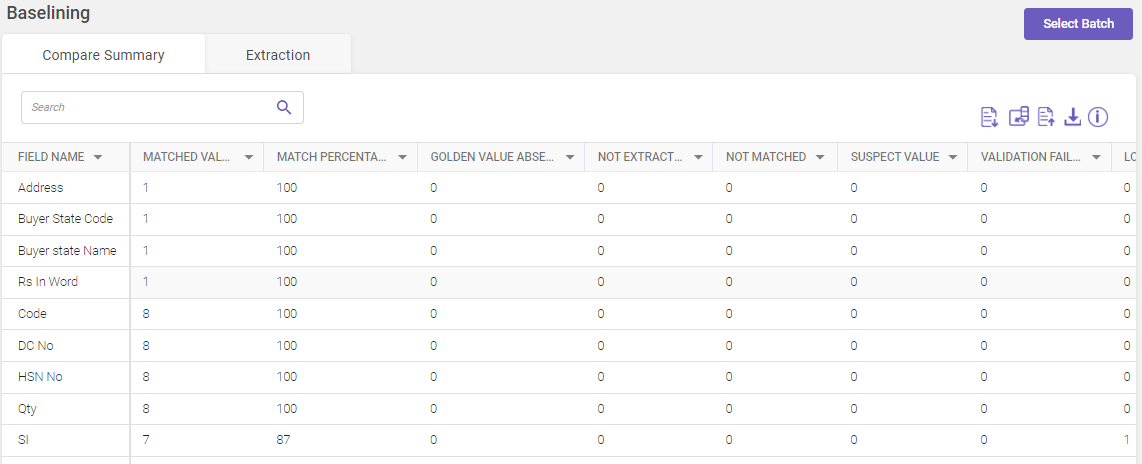
On the Compare Summary page, following activities can be performed:
-
Download results: Click on the
 to download the comparison results.
-
Hide/Unhide columns: Click
 if you want to include/exclude the columns from the Compare Summary page.
-
Import golden data: Click
 to import golden data (See Importing golden data).
-
Export golden data: Click
 to export golden data (See Exporting golden data).
-
View color information: Click
to view the colour information.
(The term golden value and the extracted value refer to the values of the ontology field that are present in the golden batch and the baselined batch respectively. )
Extraction
The Extraction page displays the comparison results for the compared baselined documents.
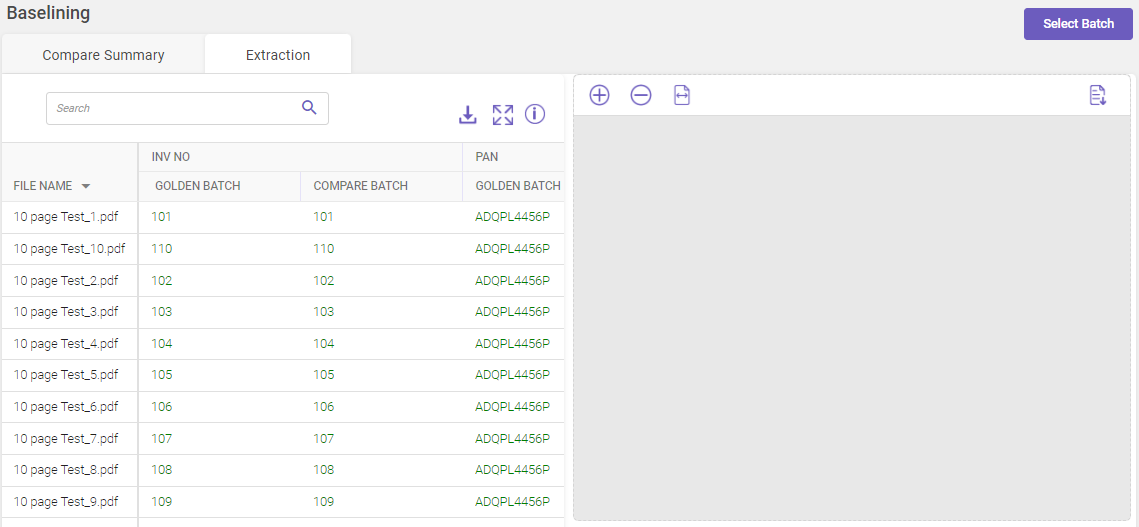
On the Extraction page, following activities can be performed:
-
Search: To search a value on the page, enter the value in the Search box. The search results will be incrementally displayed on the page.
-
Export golden data: Click
to export golden data (See Exporting golden data). -
Expand/Collapse columns: Click on
 to expand/collapse the columns. The document preview pane disappears when expanded and becomes visible when collapsed.
-
View color information: Click
to view the colour information. -
Document preview pane: Click
 to zoom in,
 to zoom out, and
 to fit to width the previewed document.
-
Download results: Click on the
to download the compare extraction results.
Exporting golden data
The export functionality allows user to export the golden data from one system to another.
To export the golden data, perform the following steps.
-
Go to the main menu, and under TruCap+ Studio, select Baselining. The Baselining page opens.
-
Click
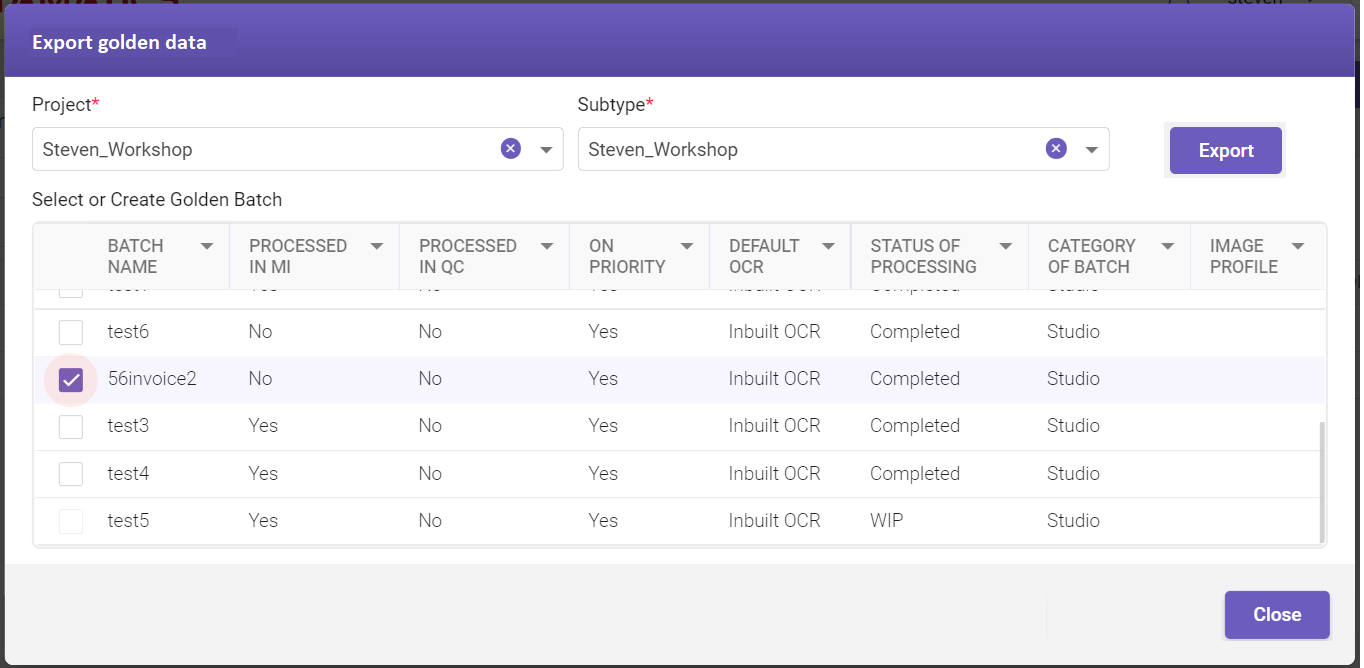
to export the batch data. The Export golden data window opens.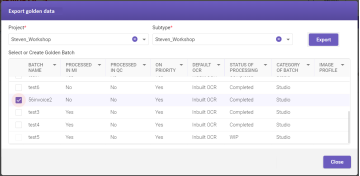
-
Select the required batch to be exported and click Export. A ZIP file is downloaded, including the exported file in .XML format, and the documents uploaded for training the golden batch.
Importing golden data
The import functionality allows user to import the exported golden data from one system to another.
To import the golden data, perform the following steps.
-
Go to the main menu, and under TruCap+ Studio, select Baselining. The Baselining page opens.
-
Click
to import the batch data. The Import baseline data window opens.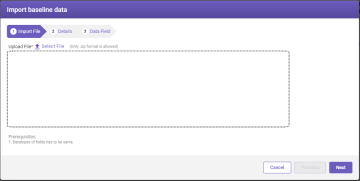
Click on the buttons inside the tabbed menu to know more.
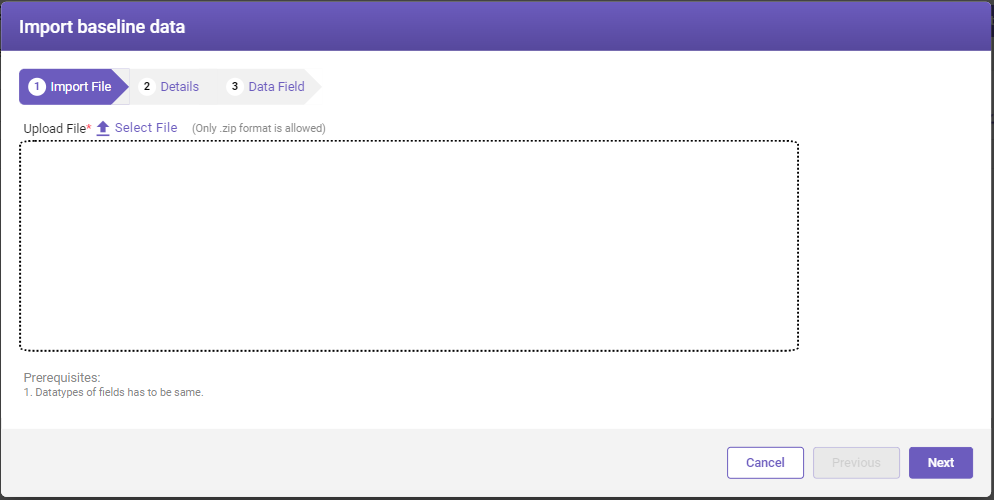
Under Import File tab, click on the Select File link to upload the file. NOTE
Once you upload the file. Click Next or click the Details tab.
Note
Once you click Next or the Details tab, the system validates the uploaded file and then opens the Details tab.
The Details tab displays the imported and existing data.
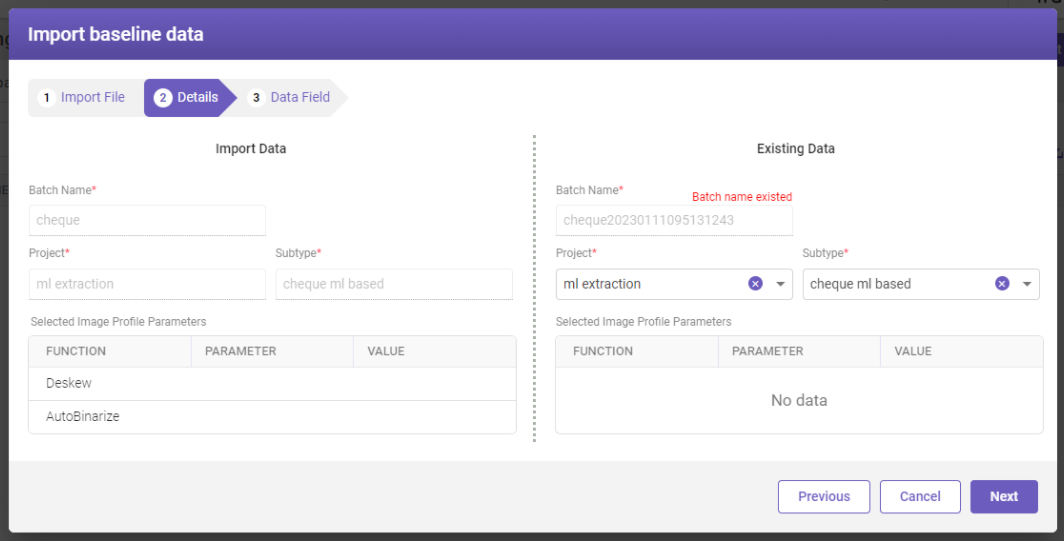
Click Previous if you want to upload a new file under Import File tab; if not, click Next or click the Data Field tab.
The Data Field tab displays the imported and existing data.
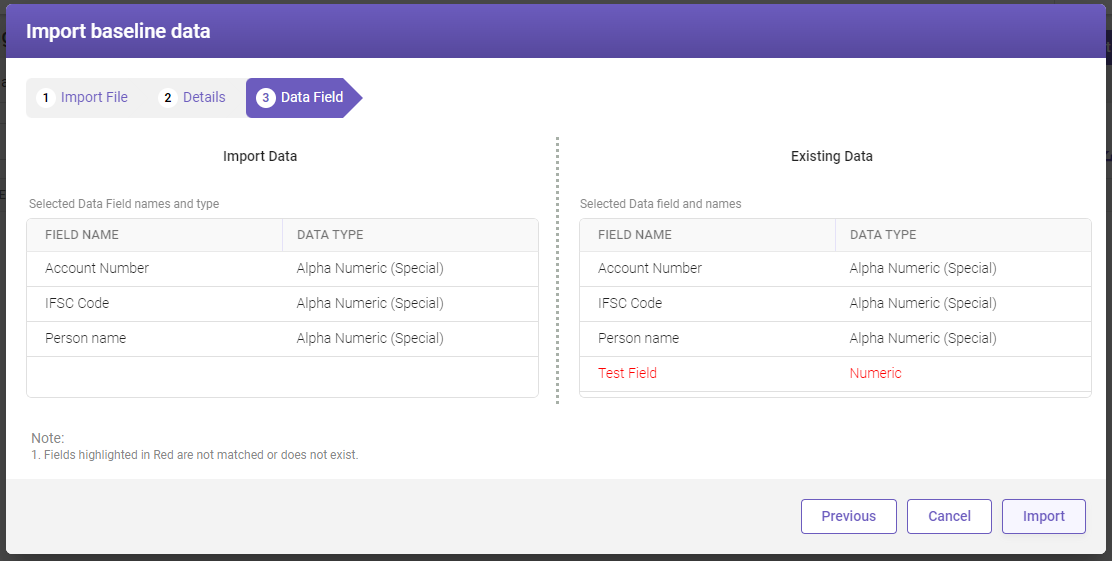
Once you finish validating the imported and existing data click Import to import the golden data.